Migrating a sensor from Helium Console to Chirpstack
Introduction
The recent shift in the Helium IoT landscape has led to a forced migration for many Helium Console users. When a user wants to also use more than 10 devices on Helium Foundation console, they will also need to move to Chirpstack. This guide is specifically tailored to address the needs of those moving their IoT devices from Helium Console to ChirpStack. It's crucial to understand the steps involved to ensure a smooth and uninterrupted service for your IoT devices.
Helium Console has been a significant part of the Helium IoT network, providing a user-friendly platform for device management. However, for scale and longevity, users must now adapt to ChirpStack, an open-source alternative that offers customizable features and enhanced control over IoT deployments. It also supports the latest LoRaWAN specs and allows things like CLASS C devices to work on the Helium network.
This transition might seem daunting, but it’s an opportunity to explore new functionalities and potentially improve your IoT network's efficiency and scalability. Our guide is designed to demystify the process, providing a clear, step-by-step approach to moving your devices from Helium Console to ChirpStack.
Prerequisites for the Migration
To ensure a successful migration, please ensure the following prerequisites are met:
-
ChirpStack Hosting Instance: You will need an active ChirpStack hosting instance for the migration. If you do not have one, our service at ChirpCloud offers reliable and secure ChirpStack hosting solutions, optimized for various IoT needs.
-
Access to Helium Console: Ensure you have full access to your Helium Console account. This includes the necessary credentials and permissions to view and export your device information.
-
Device Details: Compile all relevant device information from Helium Console, including Device EUI, Application EUI, and APP KEY and other configuration settings required for setting up your device on ChirpStack.
Step 1. Device Profiles
Creating and managing device profiles is a critical first step in migrating your IoT devices from Helium Console to ChirpStack. A device profile in ChirpStack encapsulates various parameters and settings that define how your device communicates within the network. Here's how you can set up your device profiles:
-
Access Your ChirpStack Instance: Log into your ChirpStack hosting instance. You can do this through the web interface provided by ChirpCloud or your own ChirpStack server.
-
Navigate to 'Device Profiles': In the ChirpStack dashboard, locate and click on the 'Device Profiles' section. This is where you will define the characteristics of your IoT devices.
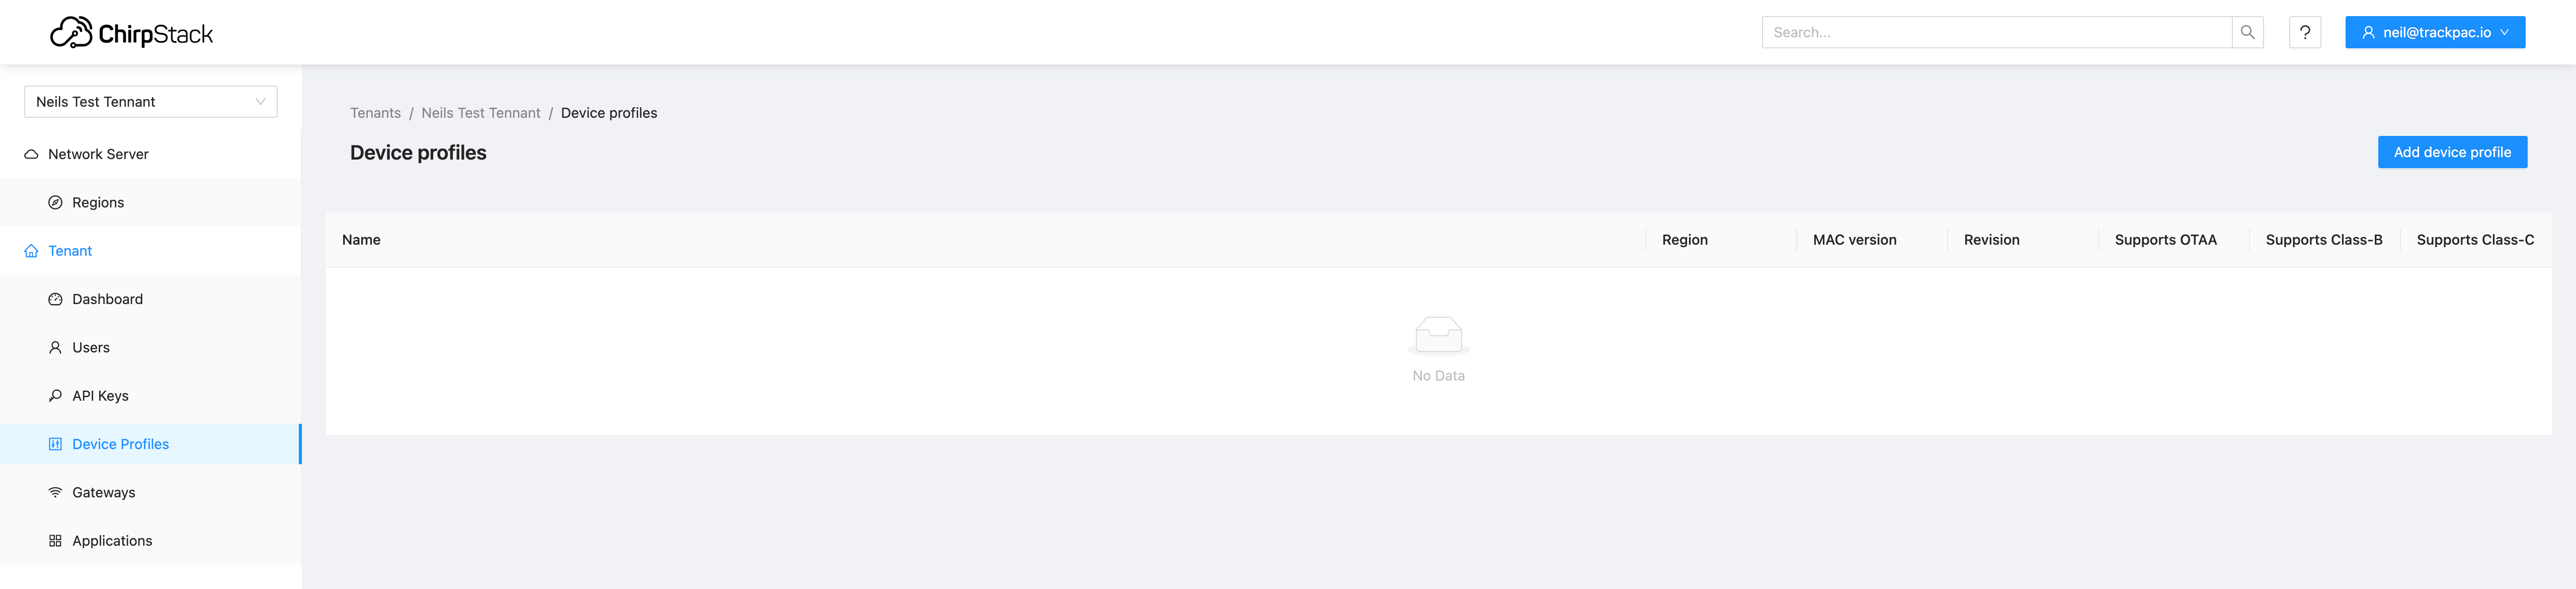
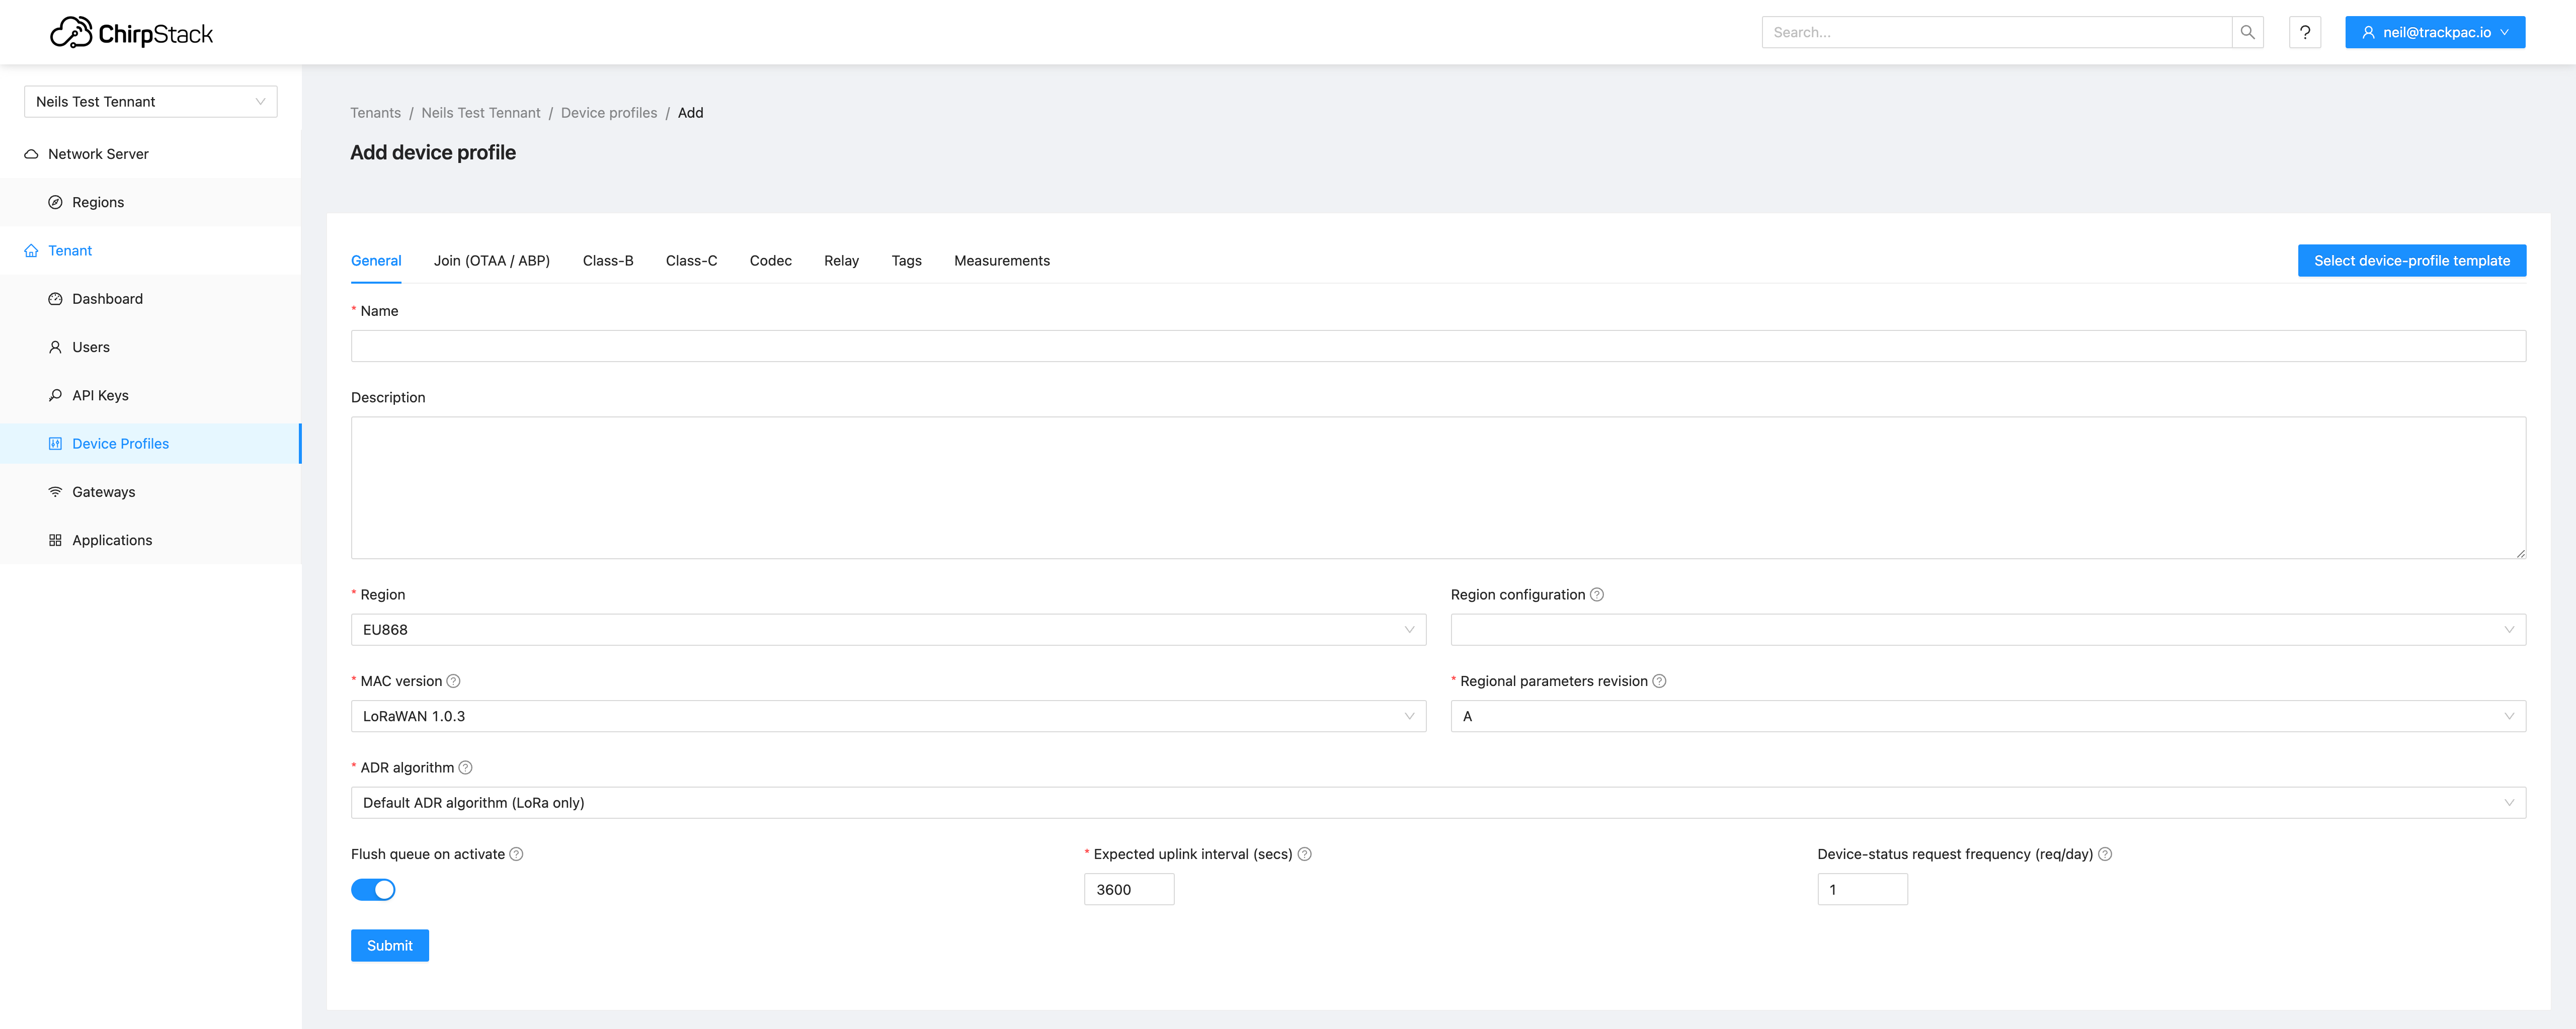
- Create a New Device Profile: Click on the 'Add Device Profile' button to start defining a new device profile. Some devices have predefined templates you can choose from top right of the screen selecting "Select device profile template". If you were able to find a device profile template, you will likely not need to edit any more settings. if not, you will need to enter specific information such as device profile name, description, and LoRaWAN® MAC version that matches your device's specifications (if in doubt, try 1.0.3). A device profile is needed per region as regions are set in the device profile, so set this here. If you are operating in more than one region, you will need to create a device profile for each.
-
Save the Device Profile: After entering all the necessary details, save the profile. This profile will be used when registering your devices in the next steps.
-
Add the codec: If you were not lucky enough to find a premade template you will need to add a codec. Think of the codec as a function on Helium console, this is where your devices decoder sits. If you have selected a predefined template this will be filled in for you already. If you are adding a new device profile without template you will need to copy your function here from your function on Helium Console.
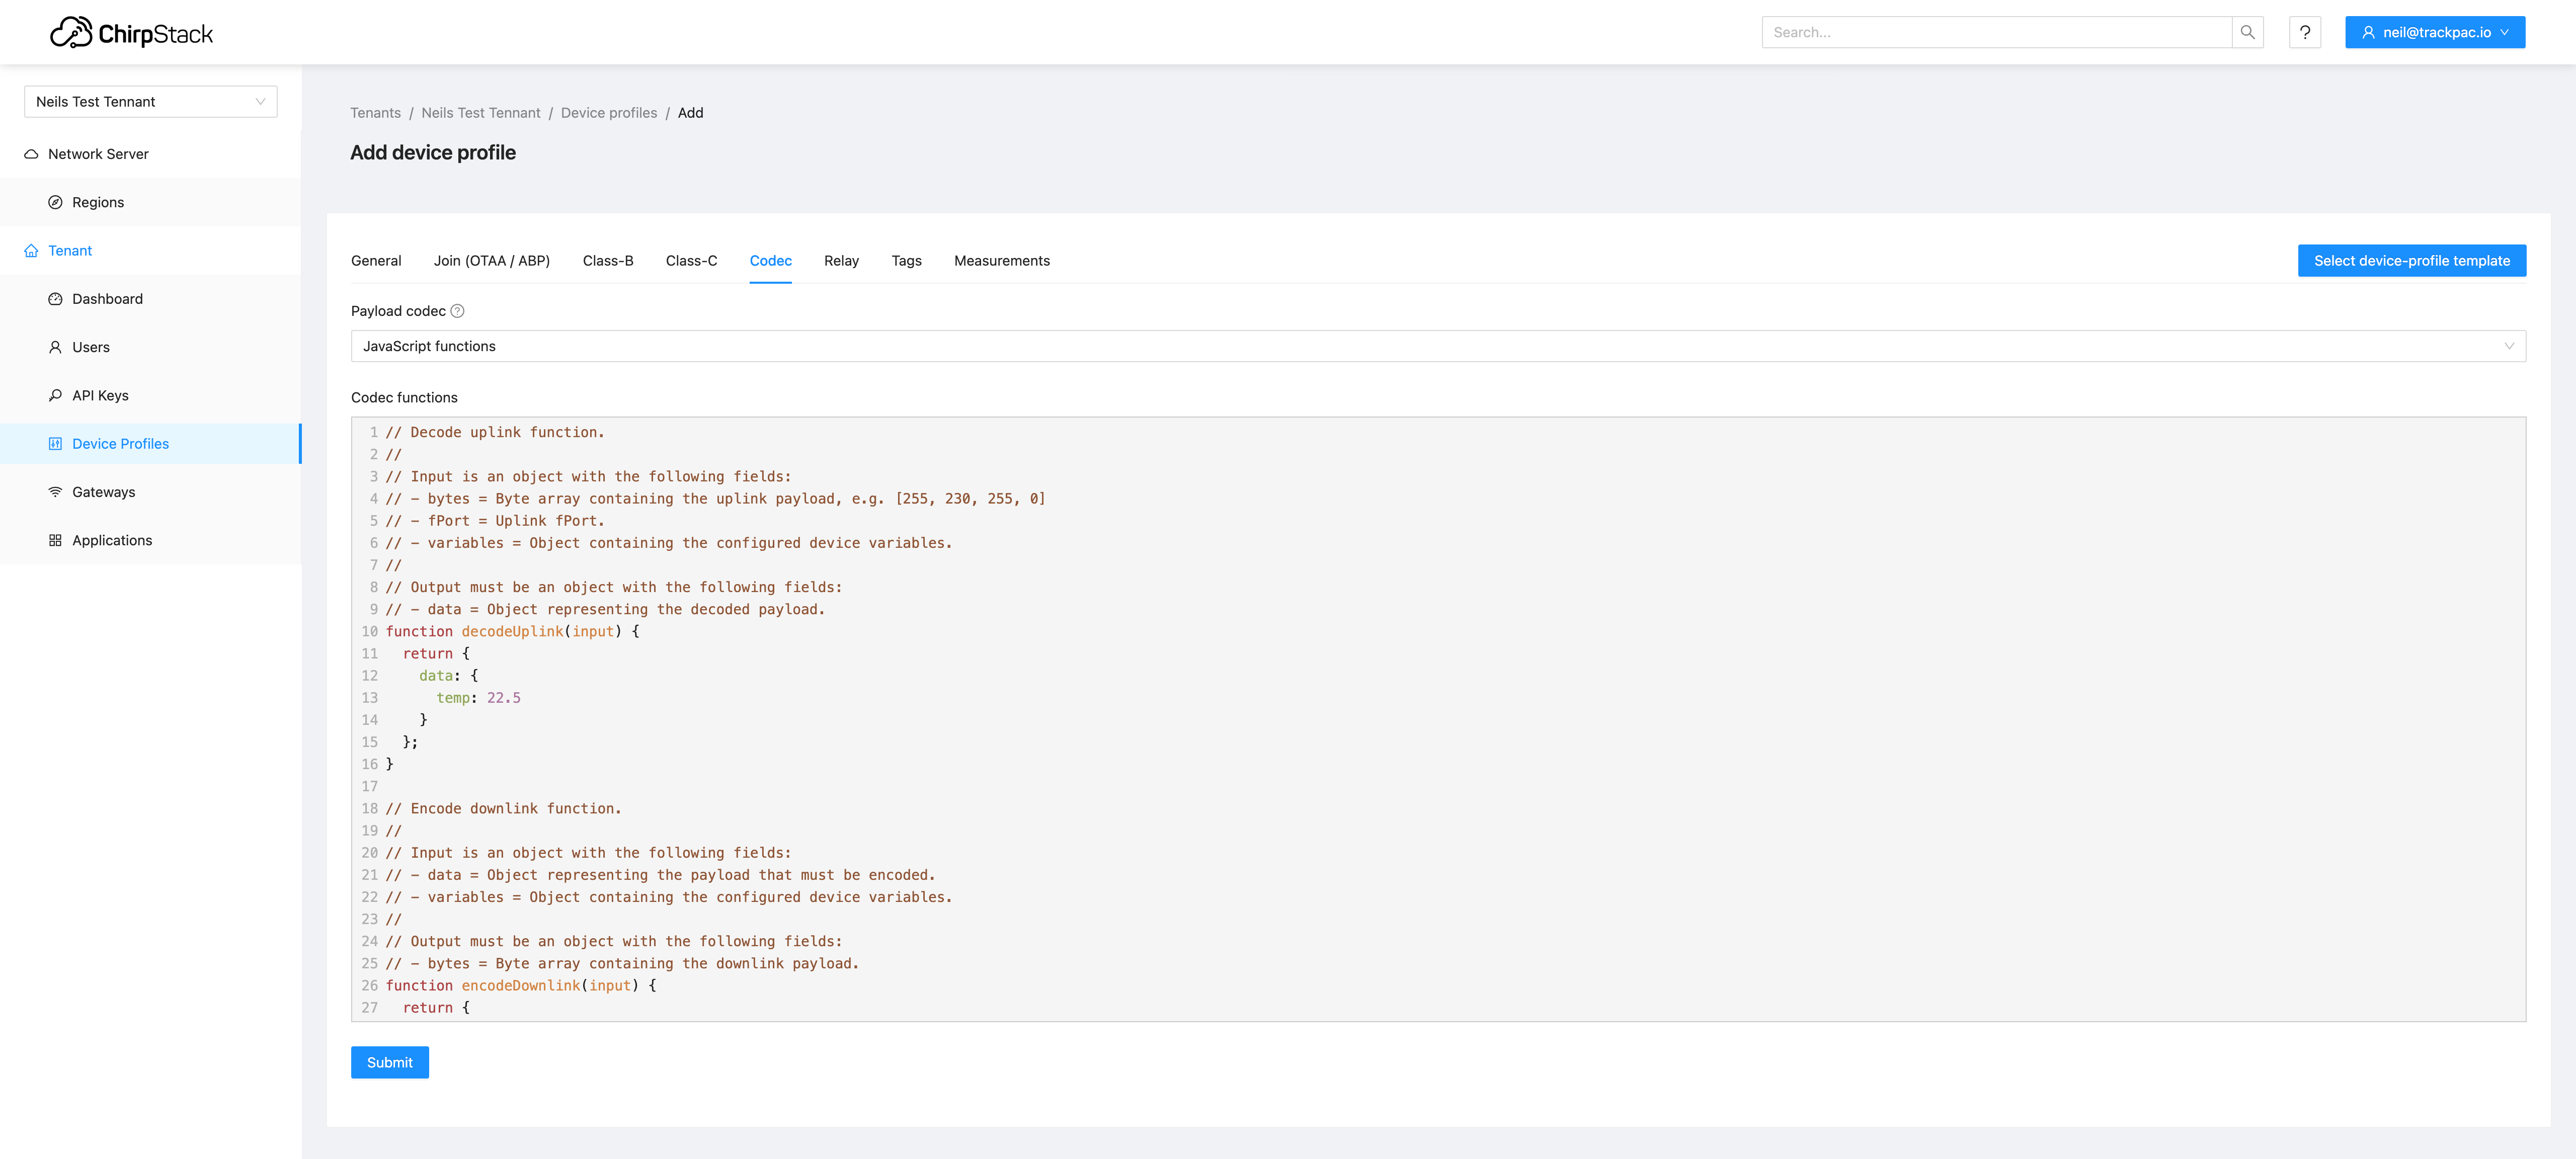
NOTE: if you are copying in your function from helium to chirpstack, your function will need some editing.
Firstly bytes and port are not seperate inputs. They are inside one called input.
Secondly, the naming of the function is slightly different
Finally, the return of the function is also slightly different.
Your function may have looked like this before:
function Decoder(bytes, port) {
  var decoded = {};

  //decoder function here

  return decoded;
}
it should now be replaced with this
function decodeUplink(input) {
  var bytes = input.bytes;
  var port = input.fPort; //check your function doesnt expect fPort, if it does rename the var.

  var decoded = {}; //check this variable name too, your existing function may name this differently and then return it.

  // decoder function here

  return { data: decoded }; //matching the decoded var name
}
- Note for Multiple Devices: If you are migrating multiple devices that share the same specifications, you can use the same device profile for all of them. Otherwise, repeat this process to create unique profiles for different types of devices.
This step sets the foundation for your devices in the ChirpStack environment, ensuring that they are correctly configured for communication and functionality using ChirpStack.
In the following sections, we will guide you through exporting device details from Helium Console and registering your devices in ChirpStack using these profiles.
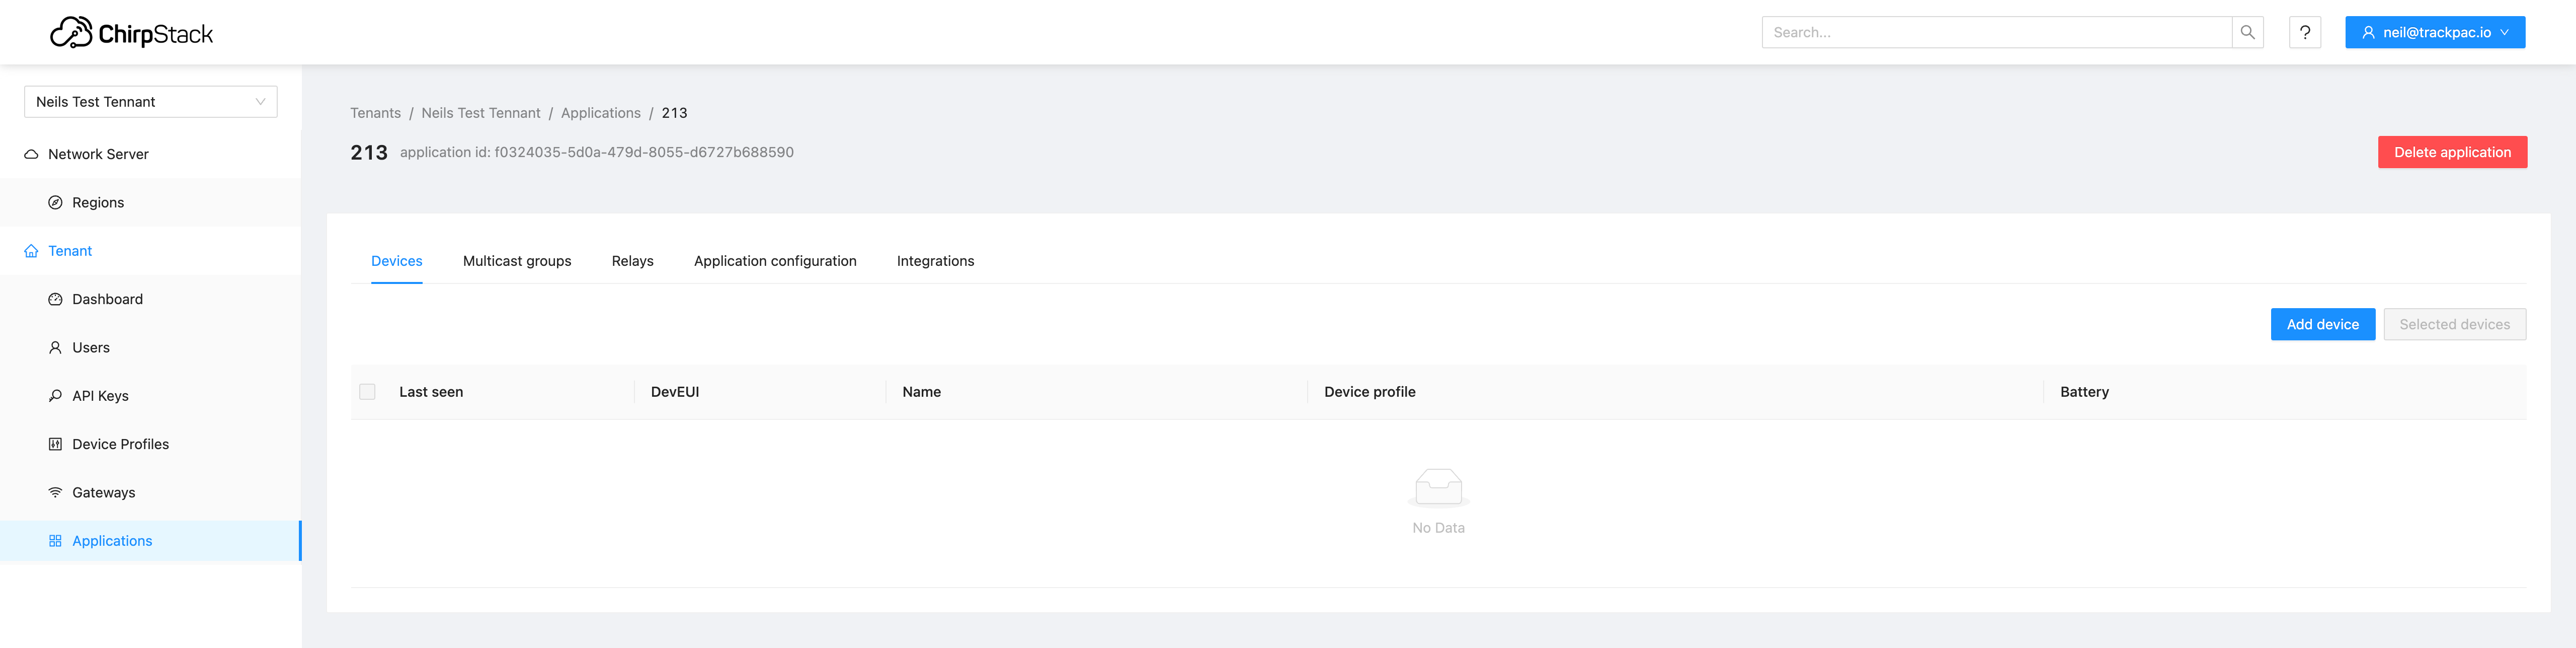
Step 2. Adding an Application
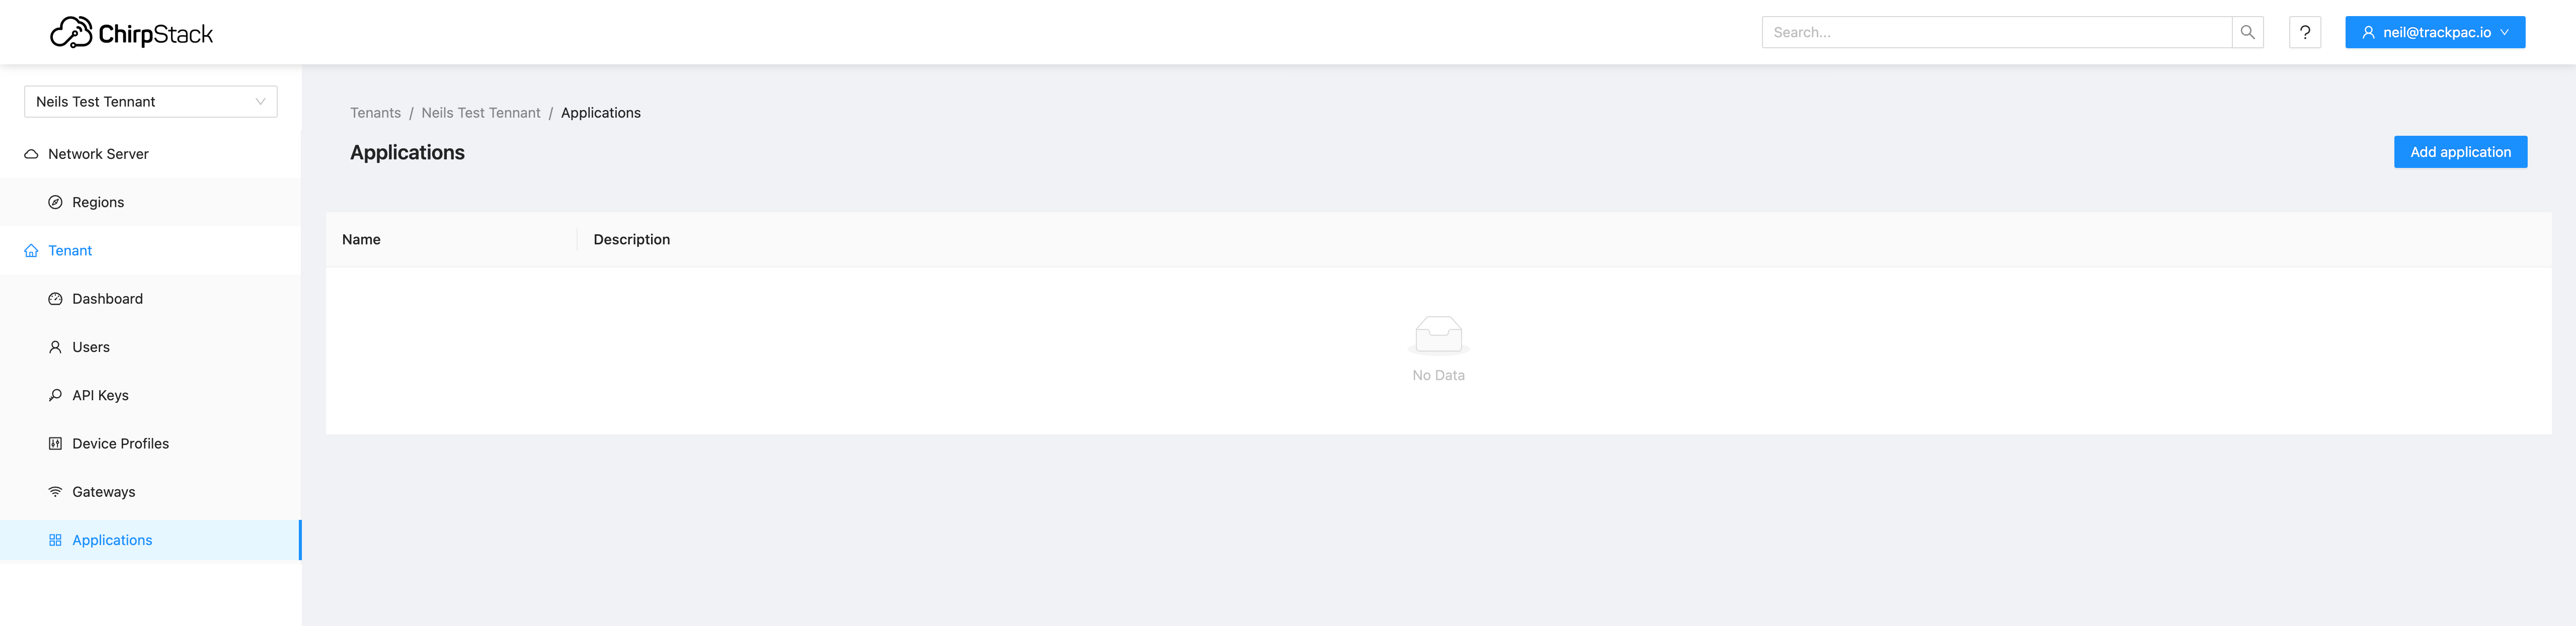
An application in ChirpStack acts like a label, organizing devices and routing data to endpoints.
-
Create a New Application: Click 'Add Application', enter a name and optional description, then save.
-
Click the Integration Tab: Choose where the data is delivered, such as MQTT or HTTP, and set the endpoint. On HTTP, multpule delivery points can be set, seperate them with a ,
Step 3. Add Your Device to the Application
This step integrates your work from Step 1 and 2.
-
Device Registration: Set a name, enter the dev_eui, and app_eui (labeled as join_eui in ChirpStack). Also select your new device profile created in step 1.
-
Enter APP Key: Post-saving, you'll be prompted to enter the APP key.
Step 4. Remove the Device from Helium Console
Now, remove your device from the Helium Console and reboot it to force it to rejoin on your new LNS.
Step 5. Monitor Uplinks and Joins
In ChirpStack, click the device under your application and head to the events tab, here you can see joins, uplinks and downlinks. The first device dashboard page also shows some great information about checkin rate, spread factor and freqency of uplink.
Summary
This guide provides a foundational approach to migrating sensors from Helium Console to ChirpStack, covering essential steps from setting up device profiles to monitoring device activity post-migration. Remember, this guide is just the beginning; ChirpStack offers extensive features and customization options to further enhance your IoT network's capabilities.